Showing posts with label craft. Show all posts

Tuesday, 16 August 2011

Stencilled T-Shirts


A friend has recently introduced me to the wonderful world of freezer paper stencils. To my knowledge, freezer paper is sold widely in America, to wrap things that are going in the freezer I imagine. In the UK, it seems the only place to get the stuff is in craft shops. The paper is waxy on one side and matt on the other, so perfect for drawing out your stencil, then ironing it to material causing the wax to stick and form a seal preventing fabric paint from bleeding. A quick search for 'Freezer paper stencils' brings up some amazingly intricate pieces of work, with a very professional finish. I had to give it a try for some shirts for Alice.

I made a few sketches, and she chose two she liked the best. Robot and snails it was.

I'm not going to write a 'how to' guide, as there are so many fantastic ones easily available on-line. The video tutorial here was very helpful to me, as was this blog post. It was easy to do, although you could scale up the difficulty level by choosing a more detailed design. It would be a fantastic way to add detail to
custom made dressing up clothes too, which I think will be my next project!

This is what I came up with. No action shots, unfortunately, as Alice has gone camera shy!


Ask me in a month, and I'm sure there won't be many surfaces in my house left unstencilled...

Wednesday, 6 July 2011

Dyed pasta and threading


After a long break in posts, I thought I'd come back and share this little activity. It was very quick and easy, and I'm really pleased with the results.

To dye your pasta (white rice also works well), you'll need to use:

Dry pasta (didn't see that coming did you?)
Ziplock bags, one for every colour you intend to use
Vinegar/rubbing alcohol
Food colouring - natural ones don't seem to come up as brightly as synthetic, but it's worth experimenting.

Put a tablespoon on vinegar/alcohol into your plastic bag. add a few drops of food colouring. Pour in enough pasta to soak up the liquid and shake around until the pasta is fully coated. Leave until the pasta is the shade you want (I left mine over night, but it might only take yours half an hour or so.)

Empty the pasta onto some greaseproof paper, and spread out so the pieces don't touch. Leave to dry.

Voilà! Coloured pasta or rice. So what are you going to use it for?

Rice is especially good for sensory play. Put handfuls in a tray and let your child mix the colours together. It looks great in clear plastic bottles as a shaker too. Both rice and pasta can be used in collages.

The pasta can be used for sorting colours or shapes, adding and subtracting games and for counting. I'm sure there are many other activities you could think of!

I decided to use ours for threading. It's an activity which Alice is really keen on lately, and the holes in the pasta are just the right size to be challenging, but not too frustrating. I made my 'needle and thread' by taking a length of thin string, and taping a tooth pick to the end. Make sure the needle is quite long if you have a little child. It's much easier for them to use. I tied a piece of pasta to the end to stop the others falling off. Once the pasta is threaded, it can be used as necklaces or belts, for pretend snakes, lots of strings can be hung up as a bead curtain, or you could just take them off and start threading again!

Friday, 25 March 2011

Sewing fun!

A shameless show off post today. After months of inactivity, my sewing machine has whirred back into life. I've made a very simple drawstring bag to hold Alice's friend's first birthday present. It's my first attempt at appliqué since I was in school, so I'm quite pleased!


And as we're basking in beautiful Spring sunshine, I thought Alice could do with a new hat. It's reversible, and the purple side is waterproof. Handy for our unpredictable weather! It's a bit wonky in places, but I'm very proud of it, and Alice likes it a lot.


Friday, 11 March 2011

DIY finger paints


Thought I'd share a fun little activity we did today. It was very easy to do and kept Alice enthralled for ages.

As usual, there are lots of how to guides on-line. This is my combination of them!

Mix about 2 tbsp cornflour with a tbsp cold water until it forms a paste. This in itself is fun to play with as it forms a suspension. Hard when you apply pressure, then liquid when you let it go. Alice isn't old enough to understand the fun of this yet, but I enjoyed it! Anyway, on with the paint!

Add a cup of boiling water to the mix and stir quite vigourously until it gets gloopy like wallpaper paste. If it's not playing ball, heat it gently in a saucepan, stirring all the time.

Decant your mixture into separate pots and add small quantities of food colouring to each. I think I played it too safe as the colours we made were very pale. It's a good idea to paint on a heavy weight paper too as if your child is anything like mine, they'll be pretty much ladeling on the paint and thinner paper gets crinkly.

It's non toxic, but probably could stain depending on how much colouring you use. Scruffy clothes are a good option for this!

Wednesday, 9 March 2011

Dyeing Playsilks


Since reading up a bit on Steiner Waldorf education, I've started to think more carefully about the toys Alice plays with. Some toys are quite prescriptive and can only be played with in a particular way. They have limited value to a child's imagination. The best sort of toys (in my opinion) are ones which can become whatever the child imagines! Blocks of wood can form walls, chairs, steps or countless other things. Play silks are another good example, able to become tents, capes, bedclothes or to dance with. You can buy a whole range of beautifully coloured silks, but I have been a bit put off by the cost of them. I was so excited when I came across a post on Natural Mamas forum giving information on where to buy plain silk scarves, and how to dye your own with food colouring! There are lots of guides about how to do this, so I've muddled through using a combination of a few. Here's what I did:


Put the silks in a bowl of very hot water with some vinegar. The vinegar acts as the mordant, allows the dye to fix properly. You need to leave this for at least 20 minutes.


In a glass or ceramic bowl, (plastic stains and metal does something funny - not sure what but was advised to avoid!) mix half a cup of vinegar with 2 cups of very hot water, and enough food colouring to get a dark colour. I used about 15 drops to get the colour above. Make sure you use synthetic colours. The natural colours apparently are less effective for dyeing. You can mix colourings too to get the colour you want.

Put the scarf in the bowl and ensure it is completely covered in the dye. Cover the bowl with clingfilm, and place in the microwave on high for 3 minutes. Stir, allow to sit for a few minutes (very important. See my notes below!) then repeat until there is hardly any colour in the water. It will probably take between 9 and 12 minutes in the microwave in total.

Carefully remove from the bowl, and rinse in cold water before wringing out and drying.


Here are my colours! They are a bit splodgy in places, but I quite like the home-made look. It nice to know they are an individual set!

Unfortunately, I was a bit hasty. I didn't allow the bowl to sit for long between stirring, and it didn't agree with my microwave! After my third silk, I realised the microwave was no longer actually heating. I put the remaining two silks in the same dye mix in covered glass casserole dishes, and put them in an oven at 180° for about half an hour. The red one looked great, but I think the oven heat didn't agree with the green as it went a bit funny coloured with splodges. Alice didn't seem to mind though. She's been playing with them non stop. That's worth a broken microwave I think!


Tuesday, 14 December 2010

Christmas Countdown: Ivy garland


We returned from my parents' house this weekend with a large bag of ivy gathered from their garden. I hoped that I could manage to somehow form it into decorations that would replace a Christmas tree and help our home look really festive. Armed with florists' tape and some ribbon, I had a go and discovered it was harder than I initially thought to make something that looked like it should be in my home rather than on a compost heap.

My attempts looked a little weedy, so I've added some large gold stars to bulk it out (and perhaps draw the eye away from the ivy...)


I've got lots more greenery to experiment with, and hopefully I'll get better as time goes on.

Sunday, 12 December 2010

Christmas Countdown: Fragrance Balls

Here's something I've tried for the first time this year. Nothing makes me feel more like Christmas is around the corner than a house that smells of cinnamon, nutmeg and cloves. Hopefully these fragrance balls will make that happen even when I've not been busy in the kitchen. It's a very simple idea.

All you need to do, it heat 2/3 cup water in a pan with a stick of cinnamon, a little grated or ground nutmeg and a few cloves. Alternatively, for a stronger smell, use a teaspoon of essential oil in a scent of your choice. Heat the water until it boils then take off the heat.
.
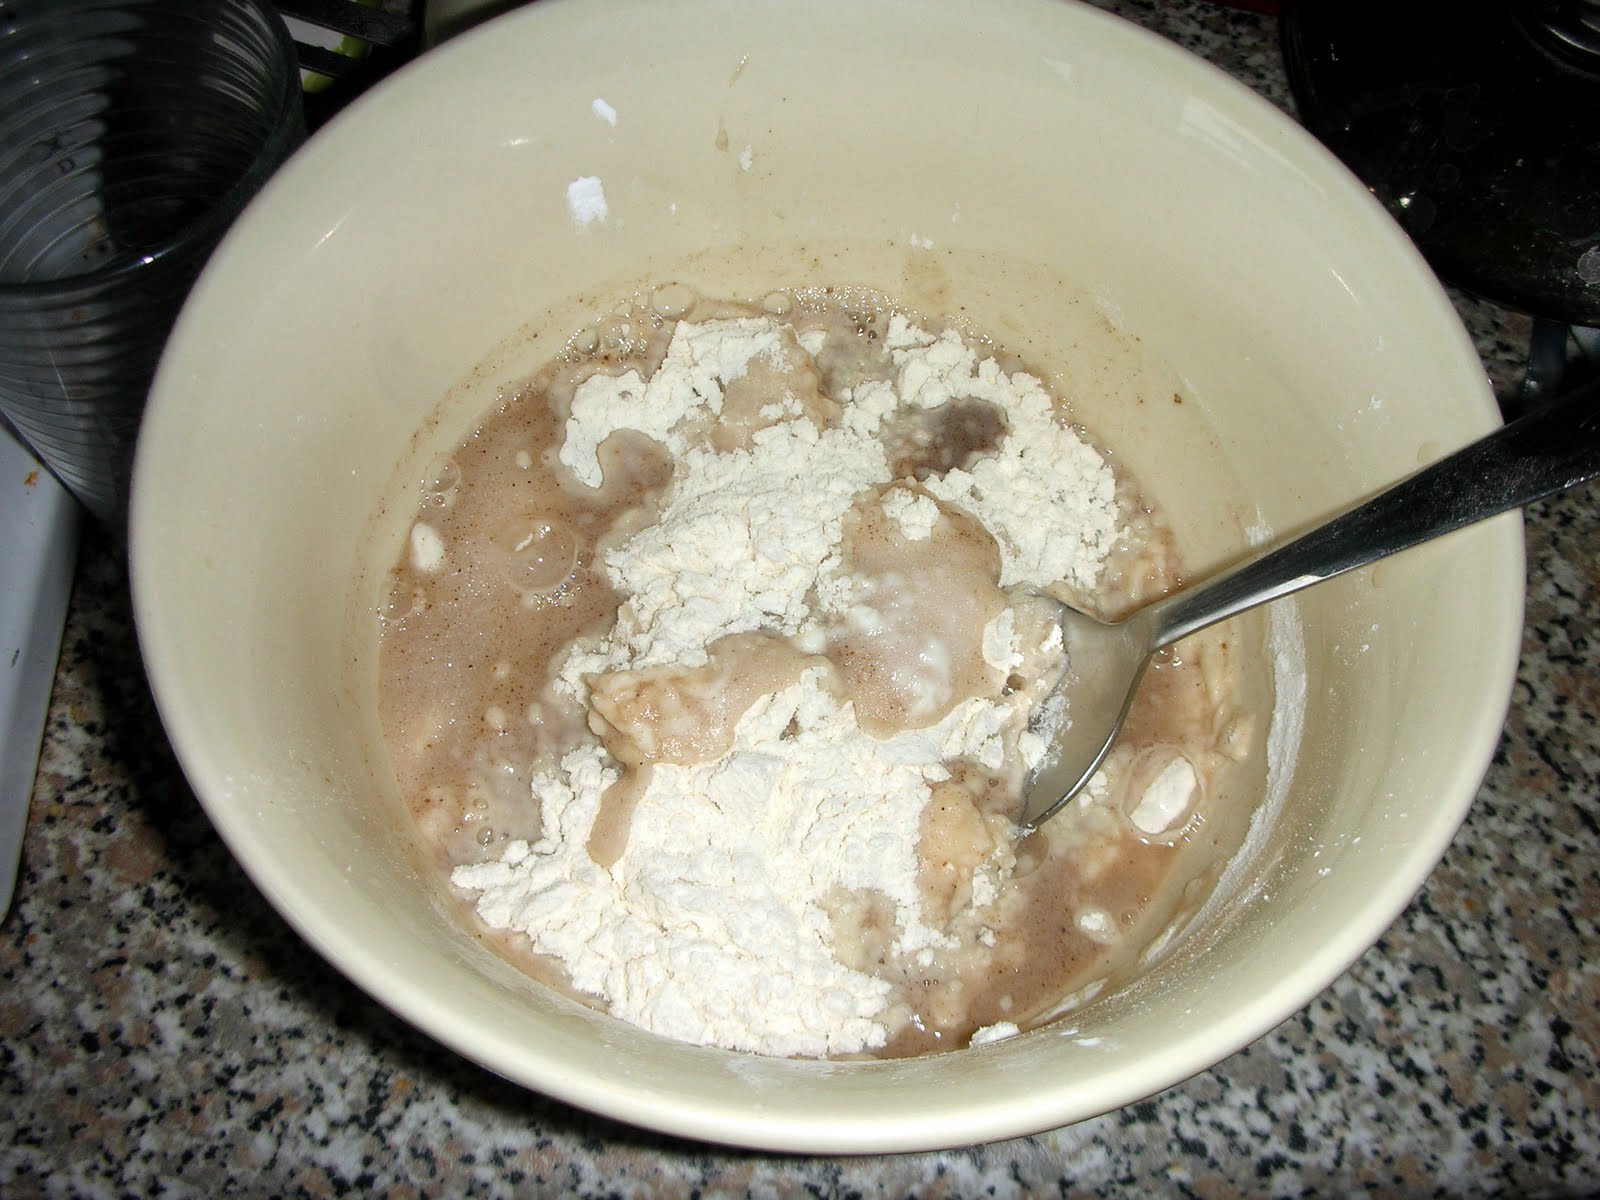
Put a cup of flour, 1/4 tsp cornflour and 1/4 cup salt in a mixing bowl and add the scented water. I left the bits in the water, but you could strain them out if you'd rather. Stir together until a dough is formed.
.

Form the dough into balls and leave in a warm place to dry overnight.


I have to remind myself not to eat these, as they look and smell delicious. Next year I might try adding some glitter or making different shapes for a bit of a change. I've put mine in a glass jar with a few of my dried oranges with a bow around the top to make it look prettier.

Tuesday, 7 December 2010

Christmas Countdown: Pomander

I've come across various methods for making these, but this is how I've always done it and haven't had any problems!
Take an orange and put holes all over it with a cocktail stick or fork.


Push a clove into each hole. The closer the cloves are to each other, the better.
Roll the pomander in ground cinnamon and nutmeg.


Leave in a warm dry place for a few weeks, or in a low oven for a few hours. It will shrink quite a lot after it has dried.
If you want to suspend it, criss-cross a ribbon around it with a loop at the top.

They look and smell lovely in a bowl or hung around the house, and after Christmas can be put into a wardrobe, drawer or airing cupboard to keep clothes and linen fresh and moth free.

Friday, 3 December 2010

Christmas Countdown: Paper doves


I've made these before in school, but this time I've used sheet music to make the doves. I got a book of music from a charity shop for £1.50 and there's lots left. When I bought it, I felt a pang of guilt knowing that it would be cut into bits rather than used to make music, but it will give us happiness in another way. My piano playing on the other hand certainly wouldn't bring happiness to anyone with eardrums.

Anyway, here's how:

Stick a sheet of music to the front and back of a solid piece of card (I used a cereal box.)

Draw the body of a dove and cut out.


Make a hole for the wings to go through. A craft knife would be useful here. I made a slightly less professional job by pushing one blade of a pair of scissors through into a ball of blu-tack.

Concertina a rectangle of sheet music and push half-way through the hole. Fan out prettily.

Make a small hole in the back of the dove and loop through some thread or ribbon to suspend it.

These would look lovely on a Christmas tree, but as we're not having one this year for fear that Alice would eat her body weight in needles, I've hung my little flock from my dresser.


Wednesday, 1 December 2010

Christmas Countdown: Dried Oranges


It's December, and this year I'm absurdly excited. Knowing that Alice will really appreciate it for the first time is making me see it through her eyes, I think. Being a stay at home mum has allowed me to fulfil my dream of having a craft filled, home made sort of Christmas, and to encourage me to do as much as I can I've decided to try and write a blog post a day to document what we've been up to. I hope I don't regret making this promise!

To start off then, here's my first offering!
Dried Oranges

Cut the oranges into slices around 1cm thick and sponge dry with kitchen paper or a cloth.

Rub with ground cinnamon and nutmeg, or whatever Christmassy spices you like best.

Put directly onto oven rack (I put mine on a wire cooling rack first to
make it easier to get them out)

Heat at 130° (GM 1) for about an hour or until the oranges are dry.

Use a needle and thread to make ties to hang the slices up with, or leave them as they are in a glass jar, vase or bowl.

Unfortunately, my terrifyingly temperamental oven scorched a few slices, but I still like them, and they smell amazing.


Tuesday, 16 February 2010

Baby leg warmers

Sewing is not a task that I find particularly appealing and frankly, I'm a bit rubbish at it. However, I came across Babylegs recently, and thought they were fantastic. Having finally discovered a comfortable baby carrier (more on that another time,) I've been heading into town with Alice wearing socks, tights and trousers to keep the cold at bay. Not ideal for speedy nappy changes. Leg warmers seemed like the perfect solution. Unfortunately, as we are now officially a single income family, I've been trying to cut back on spending money on fripperies. Imagine my delight at discovering this handy little project: Make Your Own Baby Leg and Arm Warmers.

Although I lack a sewing machine (I've had very bad experiences with bobbins...) I managed fairly well with a needle and thread and made two pairs last night. They've been for a test run today and although I wasn't mobbed by parents eager to know where they could purchase such stylish leg wear, they certainly did the job. Another bonus is that I now have a baby who looks like one of the kids from Fame. A good result all round.